Build Your Own CLI Agent: A Step-by-Step Guide
I love JavaScript. Even though I have learned several languages, JavaScript has become my first choice when building new projects. I don't even remember when this love arose. In this post I'll walk through a small terminal chat app where a language model can run shell commands for you—something you can actually run locally. At the end there's a GitHub template if you'd rather clone than copy.
Two libraries do most of the heavy lifting:
- Ink draws the chat in the terminal—the input box, scrolling text, and key handling—using React so you are not building a TUI from scratch.
- Mozaik connects the model, tool calls, and conversation memory. Think of it as the wiring between “the model said something,” “a tool finished,” and “show that in the UI,” so your screen code does not have to know every detail of the API.
Ink is what the user sees; Mozaik is what coordinates the agent behind the scenes.
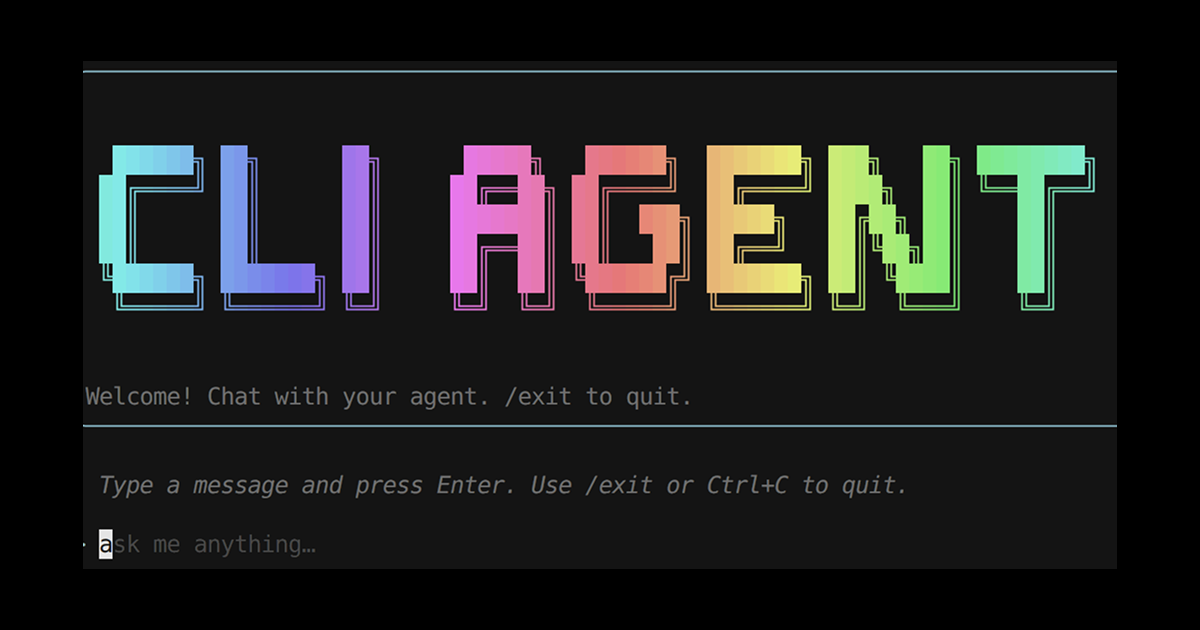
What we are building
One Node command that:
- Shows a simple chat UI in the terminal.
- Forwards what you type to a hosted language model.
- Lets the model run terminal commands through a single tool (
run_command) when it needs to inspect the machine or run a build. - Prints the model's replies (and optional "calling a tool…" hints) in that same UI—without pushing API calls into every component.
The goal is a clean split: the terminal view stays simple; the agent and tools stay in one place and are easier to test or swap later.
How the pieces fit together
Mozaik runs everything on a shared environment: when the model speaks, asks for a tool, or a tool returns a result, every piece that has joined that environment can hear about it. For this CLI you mainly care about two kinds of participant:
Two roles carry the story:
| Role | Typical base class | Responsibility |
|---|---|---|
| Agent | BaseAgentParticipant | Remembers the conversation, asks the model for the next step, and runs tools (like run_command) when the model asks for them. |
| Observer / UI bridge | BaseObserverParticipant | Listens for assistant text and tool activity from the agent and forwards it into Ink through small callbacks—so the screen updates when the model speaks or starts a tool, without owning the agent loop. |
In this project, typing in Ink calls session.send, which hands your text to the agent. You could add other participant types later (for example streaming stdin), but a straight send-to-agent path keeps the tutorial easy to follow. The full pattern is in terminal/agent.ts below if you want to see how Mozaik's base class is extended.
Step 1 — Bootstrap the runtime (cli.tsx)
The entry file is intentionally tiny: load environment variables, maybe print a one-line usage hint, then hand off to Ink with render(<App />). Keep agent logic out of here—only bootstrapping.
#!/usr/bin/env nodeimport React from "react";import { render } from "ink";import meow from "meow";import dotenv from "dotenv";import path from "node:path";import { fileURLToPath } from "node:url";import App from "./app.js";
const here = path.dirname(fileURLToPath(import.meta.url));dotenv.config({  quiet: true,  path: [    path.resolve(process.cwd(), ".env"),    path.resolve(here, "..", "..", ".env"),    path.resolve(here, "..", "..", "..", ".env"),  ],});
meow(  `	Usage	  $ your-cli
	Starts an interactive chat with the agent.`,  { importMeta: import.meta },);
render(<App />);
Step 2 — Compose the session (session.ts)
This file is the "control room." You create the model, the conversation memory, the thing that runs tools, and the shared environment, then plug in your agent and your UI helper. Everything with awkward names (OpenAIInferenceRunner, ModelContext, and so on) lives here so the React side stays small. When you are done, the UI only needs one method: something like send(message), forwarded to the agent's onMessage.
The snippet below shows the full wiring; use it as a checklist if you build from scratch.
import {  AgenticEnvironment,  Gpt54,  ModelContext,  OpenAIInferenceRunner,  DefaultFunctionCallRunner,} from "@mozaik-ai/core";import { terminalTools } from "./terminal/tools.js";import { TerminalAgent } from "./terminal/agent.js";import { UIUpdater } from "./ui-updater.js";
export type AgentSession = {  send: (message: string) => void;};
export type AgentListeners = {  onAssistantText: (text: string) => void;  onFunctionCall?: (name: string) => void;};
export function createAgentSession(listeners: AgentListeners): AgentSession {  const functionCallRunner = new DefaultFunctionCallRunner([...terminalTools]);  const inferenceRunner = new OpenAIInferenceRunner();
  const context = ModelContext.create("cli-agent");  const model = new Gpt54();  model.setTools([...terminalTools]);
  const environment = new AgenticEnvironment();  const agent = new TerminalAgent(    inferenceRunner,    functionCallRunner,    environment,    context,    model,  );  const uiUpdater = new UIUpdater(listeners);
  agent.join(environment);  uiUpdater.join(environment);  environment.start();
  return {    send: (message: string) => agent.onMessage(message),  };}
Step 3 — The agent loop (terminal/agent.ts)
This is the heart of the app, but the story is simple: when someone sends a message, you record it, let the model think, and if it wants to run a tool you run it and feed the result back—then the model gets another turn until it answers in plain language. Mozaik spells that out as a small class that extends BaseAgentParticipant; you are not reinventing a scheduler, you are filling in how each beat of that loop updates memory and calls back into the framework.
In practice that means: on new user text, add it to the conversation and ask for the next model response; when the model asks for a tool, remember that call is in flight, run it through Mozaik's runner, and store the outcome; when every outstanding tool has finished, ask the model again so it can either reply to the user or request another step. The code block below is the authoritative version—use the prose here to read it, not to memorize API names.
There is no Ink or terminal drawing in this file—only memory and orchestration—so you can change the UI later without touching the agent.
import {  BaseAgentParticipant,  UserMessageItem,  FunctionCallItem,  AgenticEnvironment,  ModelContext,  GenerativeModel,  InputStream,  InferenceRunner,  FunctionCallRunner,  FunctionCallOutputItem,  DeveloperMessageItem,} from "@mozaik-ai/core";
const programmaticAgentInputStub: InputStream = {  async *stream() {},};
export class TerminalAgent extends BaseAgentParticipant {  private pendingCalls = new Set<string>();
  constructor(    inferenceRunner: InferenceRunner,    functionCallRunner: FunctionCallRunner,    private readonly environment: AgenticEnvironment,    private readonly context: ModelContext,    private readonly model: GenerativeModel,  ) {    super(programmaticAgentInputStub, inferenceRunner, functionCallRunner);  }
  override onMessage(message: string): void {    const developerMessage = DeveloperMessageItem.create(      `You are a terminal agent. You can run commands in the terminal to help the user with their request.`,    );
    this.context      .addContextItem(developerMessage)      .addContextItem(UserMessageItem.create(message));    this.runInference(this.environment, this.context, this.model);  }
  override onFunctionCall(item: FunctionCallItem) {    this.pendingCalls.add(item.callId);    this.context.addContextItem(item);    this.executeFunctionCall(this.environment, item);  }
  override onFunctionCallOutput(item: FunctionCallOutputItem) {    this.context.addContextItem(item);    this.pendingCalls.delete(item.callId);    if (this.pendingCalls.size === 0) {      this.runInference(this.environment, this.context, this.model);    }  }}
Step 4 — Tools the model can use (terminal/tools.ts)
Tools are how you tell the model what it is allowed to do outside of chat text. Each tool has a name, a short description the model can read, argument shapes, and an invoke function that runs on your machine. Here we expose one tool: run_command, which executes a shell command and returns output so the model can use it on its next turn.
import { Tool } from "@mozaik-ai/core";import { Terminal } from "./terminal.js";
const terminal = new Terminal();
export const terminalTools: Tool[] = [  {    name: "run_command",    description: "Run a command in the terminal.",    parameters: {      type: "object",      properties: {        command: {          type: "string",          description: "The command to run in the terminal.",        },        cwd: { type: "string", description: "The current working directory." },      },      required: ["command", "cwd"],    },    strict: true,    type: "function",    invoke: async (args: { command: string; cwd: string }) => {      const result = await terminal.runCommand(args.command, args.cwd);      return result;    },  },];
Step 5 — Feed the terminal UI (ui-updater.ts)
The observer sits between Mozaik and Ink. When the agent produces text the user should see, this class forwards it through a callback; when a tool starts, it can add a small status line (for example "calling run_command"). You stay subscribed to external events so you hear what the agent is doing, not duplicate the agent's own work—that keeps one clear owner of the loop and one clear owner of the display.
import {  Participant,  FunctionCallItem,  ModelMessageItem,  BaseObserverParticipant,} from "@mozaik-ai/core";
type Listeners = {  onAssistantText: (text: string) => void;  onFunctionCall?: (name: string) => void;};
export class UIUpdater extends BaseObserverParticipant {  constructor(private readonly listeners: Listeners) {    super();  }
  override onFunctionCall(item: FunctionCallItem) {    this.listeners.onFunctionCall?.(item.toJSON()?.name ?? "tool");  }
  override onExternalFunctionCall(    _source: Participant,    item: FunctionCallItem,  ) {    this.listeners.onFunctionCall?.(item.toJSON()?.name ?? "tool");  }
  override onExternalModelMessage(_source: Participant, item: ModelMessageItem) {    const text = item.content?.text ?? "";    if (text) this.listeners.onAssistantText(text);  }}
Step 6 — Wire Ink (app.tsx)
The Ink layer holds chat history in normal React state, builds the session once so you do not reconnect on every render, and on submit appends the user message then calls session.send. Anything the observer hears arrives through the callbacks you passed in when creating the session. The pattern below is intentionally minimal so you can focus on layout and input UX in your own fork.
import React, { useMemo, useRef, useState } from "react";import { useApp } from "ink";import { createAgentSession } from "./session.js";
type ChatMessage = {  id: number;  role: "user" | "assistant" | "system";  content: string;};
export default function App() {  const { exit } = useApp();  const [messages, setMessages] = useState<ChatMessage[]>([]);  const nextId = useRef(0);
  const appendMessage = (role: ChatMessage["role"], content: string) => {    setMessages((previous) => [      ...previous,      { id: nextId.current++, role, content },    ]);  };
  const session = useMemo(    () =>      createAgentSession({        onAssistantText: (text: string) => {          appendMessage("assistant", text);        },        onFunctionCall: (name: string) => {          appendMessage("system", `calling tool: ${name}`);        },      }),    [],  );
  const handleSubmit = (value: string) => {    const trimmed = value.trim();    if (!trimmed) return;    appendMessage("user", trimmed);    session.send(trimmed);  };
  // …render messages + <TextInput onSubmit={handleSubmit} /> …}
Step 7 — Credentials and build
Put your API key in .env ( the template expects something like OPENAI_API_KEY; check Mozaik if you change model or provider). Then install, build, and run the compiled CLI (or npm link if you want a global command).
Starter repository
Prefer a working tree over copy-paste? There is a template repo with the same layout this article walks through—agent, observer, tools, and Ink UI already split into files.
Scaffold a fresh project without copying the template's full git history:
npx degit jigjoy-ai/cli-agent-starter my-cli-agentcd my-cli-agentgit initgit add .git commit -m "Initial commit"npm installReplace jigjoy-ai/cli-agent-starter with your fork or canonical URL if it moves; replace my-cli-agent with your package name. Then edit package.json (name, bin), tweak source/cli.tsx / source/app.tsx branding, and start adding participants and tools.
GitHub alternative: enable Template repository in the repo settings and use Use this template — you get a first commit snapshot with a clean history for a new repo.
Starter template:
github.com/jigjoy-ai/cli-agent-starterWhere to go next
- Add
BaseHumanParticipantif you want stdin streaming as first-classInputStreaminput. - Add a second
BaseAgentParticipantand useonExternal*handlers to log or aggregate multi-agent chatter. - Swap
Gpt54/ runners for other models supported by Mozaik as the ecosystem grows.
You now have a concise path from "blank Node project" to "Ink front end + Mozaik event bus + tool-running agent" — with a degit-friendly repo to hit the ground running.
Star on GitHub:
github.com/jigjoy-ai/mozaik
With tools and technology we already have, we can build much more valuable systems than most projects today. We can write software that is a pleasure to use and a pleasure to work on; software that doesn't box us in as it grows, but creates new opportunities and continues to add value for its owners.
